Send the invite yourself
Forward the invite from your own email
Want it to feel personal and look professional? Send the invite to your own inbox first, then forward it to your guests. It’s quick, you stay in control, and replies come straight back to you.
Why this works well
Guests see your name - not ours. You get any delivery notices in your own inbox. And replies go directly to you, so nothing gets lost. Simple, safe, and all yours.
💡
Forwarding from your own address often lifts open rates because people recognize you.
How to do it
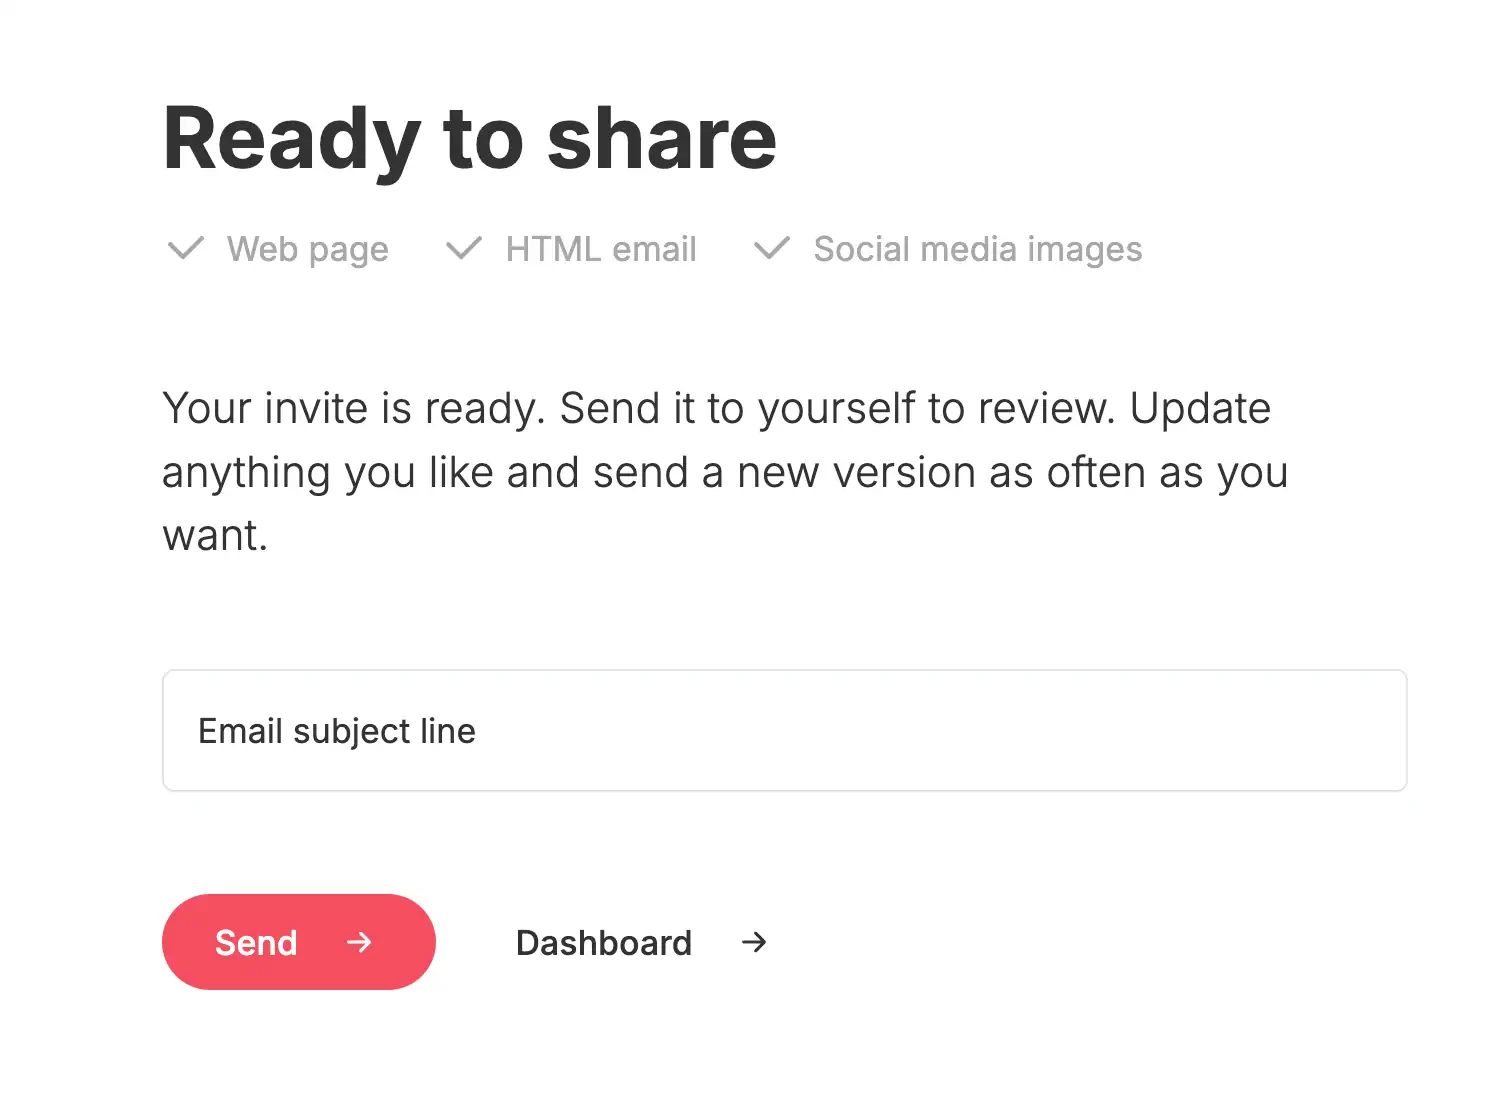
- In the app, choose “Send”. The invite arrives in your inbox.
- Open the email and click Forward.
- Clean the subject. Remove any “FW:” so it reads clearly, for example “Invitation: [event name]”.
- Trim the extra header lines. Delete the quoted From/To/Date lines above the invite.
- Put all addresses in 'BCC'. Leave 'To' empty or set it to your own email.
- Test the links once to be sure everything opens.
- Send. That’s it.
⚠️
Do not place multiple guests in 'To' or 'CC'. Use 'BCC' to protect privacy.
Good to know
- Need to resend? Forward again or make a fresh forward with a short note.
- Missing replies? Ask guests to reply to your email so answers stay in your inbox.
- Test first. Send one to yourself to check subject, preview text, and links.
Last Update: 28 November 2025