Update your event settings
Keep your event info accurate
Update your event settings to match your real plans. A clear title, correct date, and the right location help your invite feel polished and up to date. And when these details are set, the Save the date and See the route buttons at the bottom work exactly as they should.
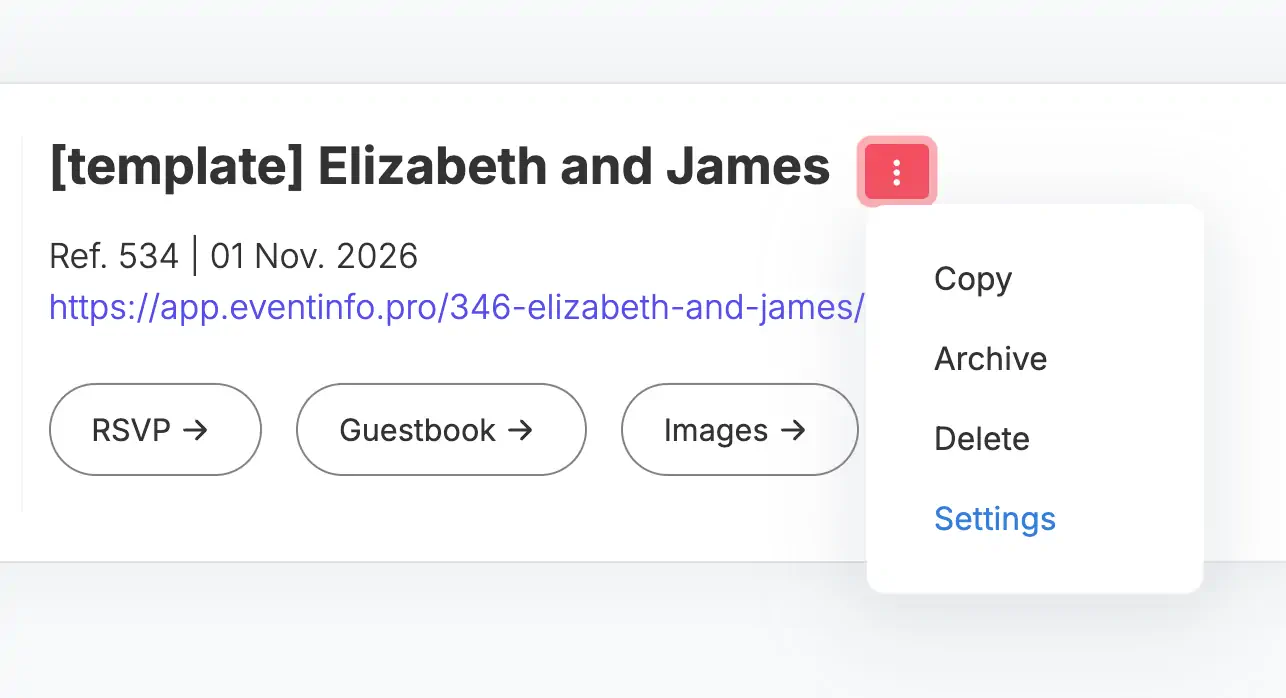
Open the settings menu
Start from your dashboard. Each event has a small menu with three dots. Click it and choose Settings. This gives you one clean view of all key details.
Edit your event title
Choose a short, clear event name. This title appears on your dashboard and on the invite itself, so it’s the first thing your guests see.
Update your event URL
Personalise the URL by changing the last part — the slug. Keep it simple and easy to share. This helps your invite look clean on email, WhatsApp and social.
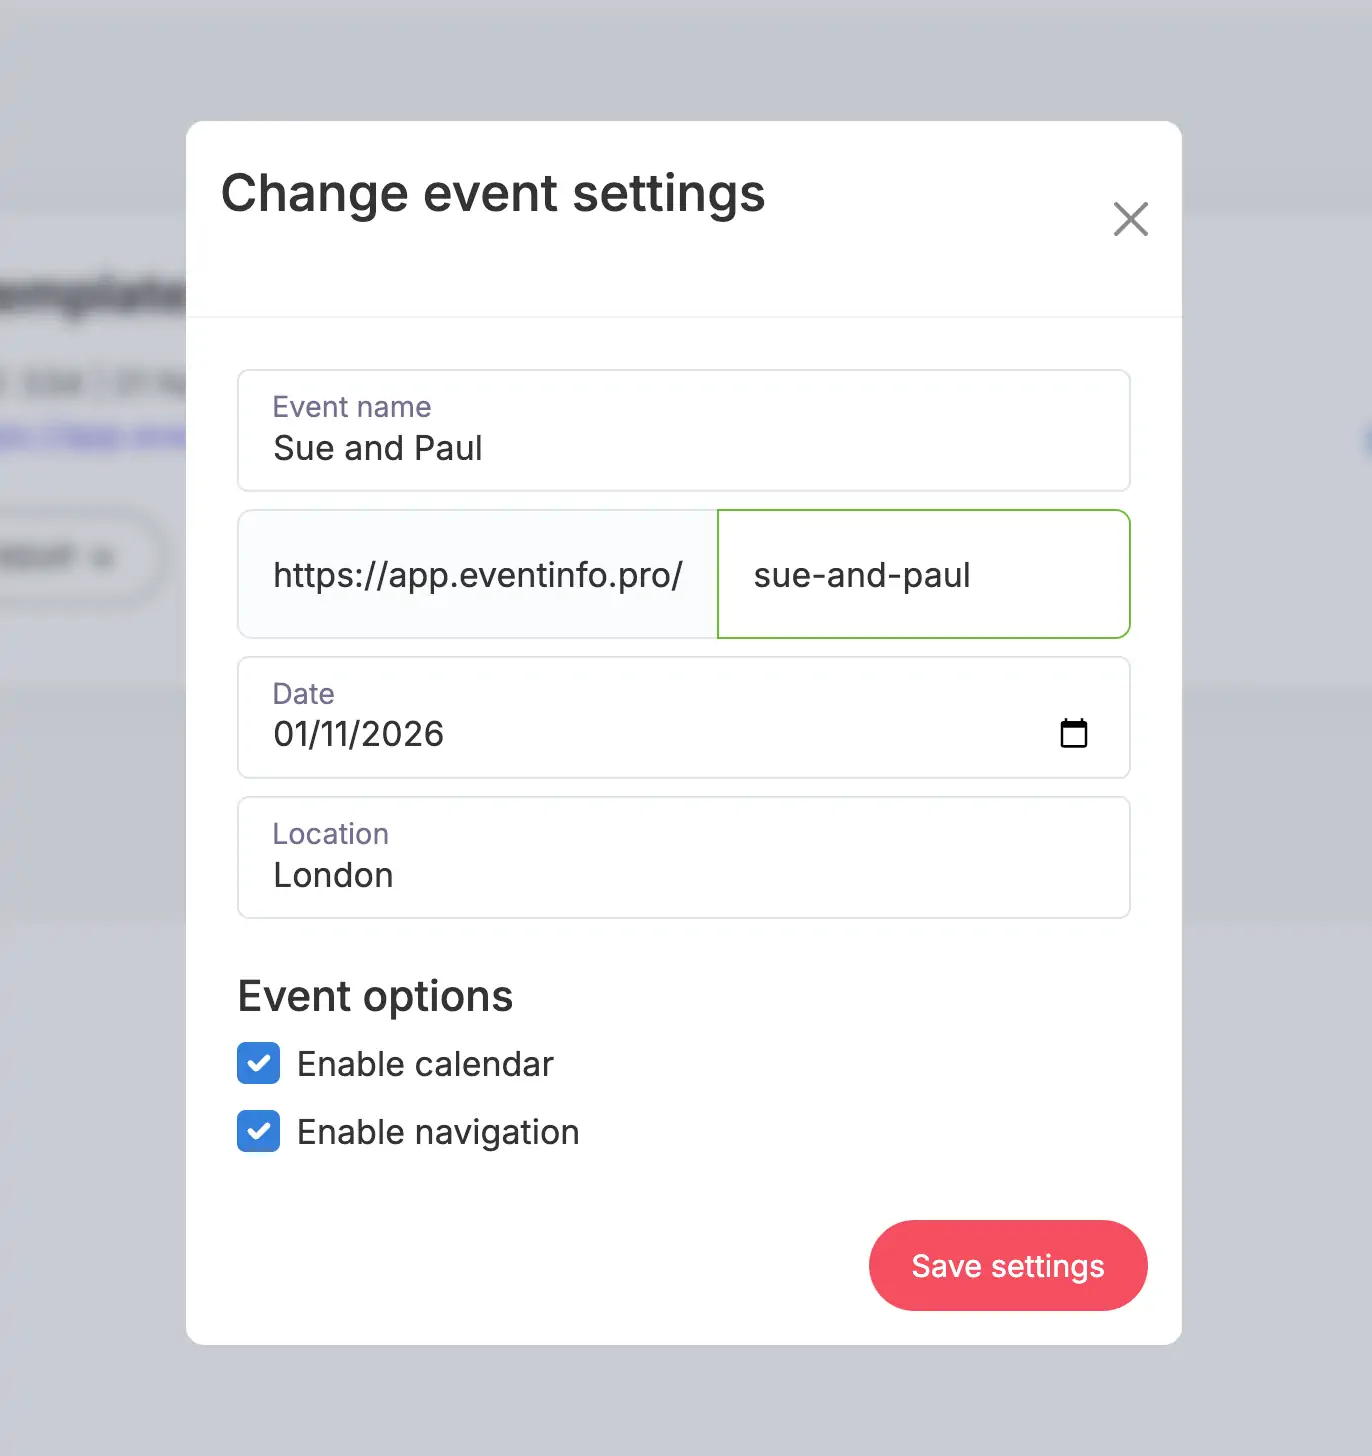
Set the correct date and time
Pick the right date and time for your event. This powers the Save the date button, so guests can add your event to their calendar in one click.
Add your event location
Enter the correct location. This enables the See the route button, letting guests open navigation apps straight from your invite. A clear location means fewer questions and smoother planning.
Save your changes
Click Save settings to confirm everything. You can update your event info anytime, even after sharing your invite. Your guests will always see the latest version — no extra work for you.
Last Update: 21 November 2025