Creating an invoice
You create an invoice yourself, in your dashboard under Invoices. No need to e-mail anyone: enter your details and the invoice is ready to download.
How to create an invoice
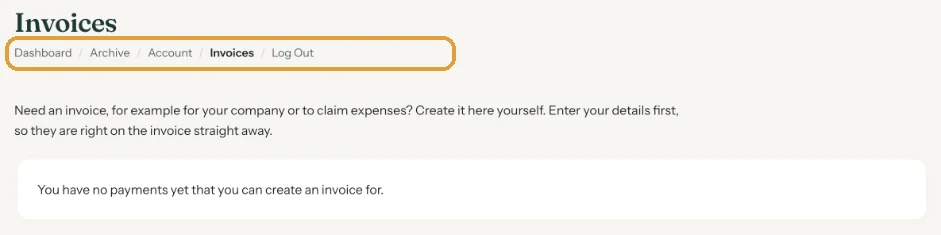
- Open your dashboard and click Invoices in the navigation at the top.
- Every payment is listed with a description, date and amount. Click Create invoice next to the payment.
- Check the details. They’re filled in from your account: name, company name (optional), street and number, postcode, city, country and VAT number (optional).
- Don’t want to type them again next time? Tick Also save these details in my account.
- Click Create invoice. Download invoice then appears.
What’s on it?
A sequential invoice number, the payment date, the amount with VAT shown separately (21% is included in the price) and Mollie’s payment reference. That reference starts with tr_ and is also in the payment confirmation you received by e-mail.
For a credit bundle it says, for example: 10 credits to activate 10 invitations.
Check your details carefully. An invoice gets its number straight away. If something turns out to be wrong later, you replace it with a new one plus a credit note. See Changing invoice details.
Paid before 10 November 2026? The button isn’t available for those payments. Just send us a message with the name of the invitation and your billing details.
Next step: Changing invoice details
Last updated: November 11, 2026